Are your "rust-proof" stainless steel bearings failing? This common mistake can seize your machinery in months. Let's fix that and double their lifespan with some easy, practical tips.
To stop stainless steel bearings from rusting, you must protect their thin chromium oxide layer. Clean them regularly with neutral detergents to remove contaminants like dirt and moisture. Proper cleaning and applying rust-preventive oil after washing is the key to preventing corrosion and ensuring long-term performance.
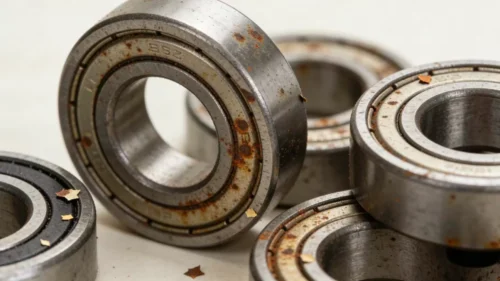
I've seen it countless times in my 30 years in the bearing industry. A customer calls me, completely frustrated that their expensive stainless steel bearings have failed. They always say, "But I bought stainless steel so it wouldn't rust!" It's a dangerous oversimplification to think they are invincible. The real secret isn't in the material alone; it's in the maintenance. Let's break down why this happens and what our workshop engineers at Yuanguang Bearing do every day to keep these components spinning smoothly for years, not months.
Why Do 'Stainless' Steel Bearings Rust, Anyway?
Ever been shocked to find rust on your premium stainless steel bearings? This unexpected corrosion can halt your operations. The cause is simpler than you think and easy to prevent.
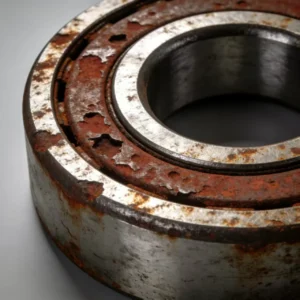
Stainless steel bearings rust when their protective chromium oxide film is compromised. Contaminants like oil, metal dust, and moisture break down this invisible layer. This allows oxygen to react with the iron in the alloy, starting the corrosion process you see as rust.
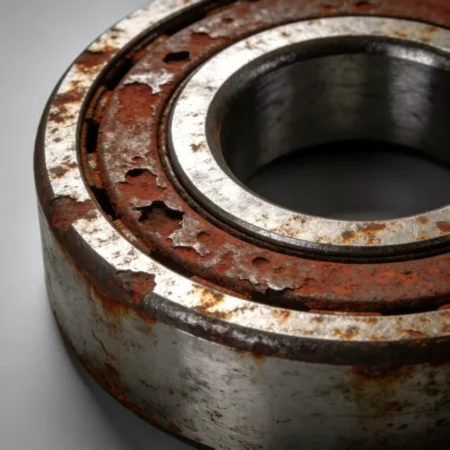
The term "stainless" is a bit misleading. It should really be called "stain-resistant" steel. Its magic lies in a super-thin, invisible layer on its surface called a passive film or chromium oxide layer. This film forms naturally when the chromium in the steel alloy is exposed to oxygen. It acts like a shield, protecting the iron inside from the elements. However, this shield is not indestructible. I remember a client in the food processing industry who was dealing with bearing failures every few months. They used harsh chemical cleaners near their conveyor belts. They thought the cleaners were great for hygiene, but they were chemically stripping the protective layer off the bearings. Once we showed them a proper cleaning routine with neutral agents, their bearing lifespan tripled. It wasn't a bad batch of bearings; it was a bad maintenance environment.
Common Threats to the Protective Film
Many things can damage this crucial protective layer. Understanding them is the first step to prevention.
| Culprit | How it Causes Rust |
|---|---|
| Physical Scratches | Using improper tools or rough handling creates scratches. These grooves trap moisture and contaminants, creating perfect spots for rust to start. |
| Chemicals | Strong acids or alkaline cleaners (like bleach) can chemically dissolve the passive film, leaving the steel underneath exposed and vulnerable. |
| Contaminants | Tiny metal particles (especially from regular steel), salt, and excessive dirt can settle on the surface, break down the film, and cause localized corrosion. |
| Trapped Moisture | Humid environments or improper drying after washing allows water to sit on the surface, providing the electrolyte needed for the rusting process to begin. |
Even a brand-new bearing isn't safe. The protective oil applied at the factory can be a dirt magnet, trapping particles that will eventually compromise the surface.
What Are the Core Principles for Cleaning Stainless Steel Bearings?
Worried about damaging your bearings during cleaning? Using the wrong method can actually cause more rust. But you can clean them safely and effectively by following three simple, core principles.
The three core principles for cleaning are: timeliness, correct chemistry, and gentle handling. Clean bearings promptly, use only neutral cleaning agents, and avoid abrasive tools that can scratch the surface. This approach protects the critical passive layer and prevents accidental damage.
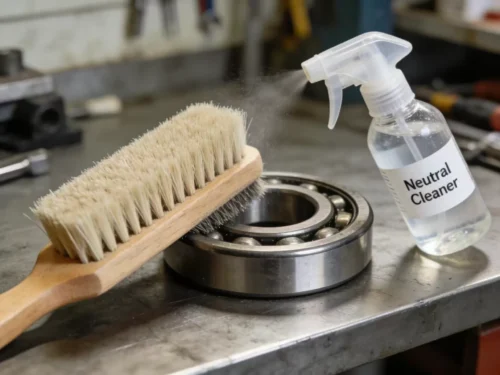
In our own assembly workshop at Yuanguang Bearing, we live by these rules every single day. Every new bearing housing and insert is handled with care. We use specialized tools for assembly, not a hammer and a block of wood. This isn't just for show; it's because we know that a tiny scratch during assembly can become a major rust point a year down the line for our customers. Prevention starts from day one. When you approach your own maintenance, thinking like a manufacturer can save you a lot of trouble. The goal is always to clean away the harmful contaminants without introducing new problems, like scratches or chemical damage. Adopting these three principles as a non-negotiable part of your routine is the most effective way to ensure your bearings last as long as they were designed to.
The Three Pillars of Bearing Cleaning
Let's break these principles down so you can apply them perfectly.
| Principle | Why It's Important | How to Do It Right |
|---|---|---|
| 1. Clean Promptly | The longer contaminants sit on the bearing, the more time they have to damage the protective film. Waiting allows corrosion to take hold. | Clean bearings within 24 hours of machine shutdown. For new bearings, clean them before installation to remove the factory-applied oil that attracts dust. |
| 2. Use the Right Cleaner | Harsh chemicals are the fastest way to destroy the passive layer. Strong acids and alkalis will chemically attack the surface, promoting rust. | Use neutral, non-ionic detergents or specialized bearing cleaning solvents. Never use chlorine-based cleaners, bleach, or aggressive industrial degreasers. |
| 3. Handle Gently | Scratches and dings create crevices where moisture gets trapped, leading to pitting and crevice corrosion that can quickly destroy a bearing. | Use soft nylon brushes, not wire brushes. Use proper bearing pullers and presses for removal and installation, not hammers or pry bars. |
What's the Step-by-Step Process for Cleaning and Storing Bearings?
Feeling unsure about the exact cleaning process? A missed step can ruin all your hard work and leave your bearings vulnerable. Here’s a complete, easy-to-follow guide from inspection to storage.
First, pre-clean and inspect the bearing for existing damage. Next, choose your cleaning method—manual brushing, ultrasonic bath, or high-pressure spray—based on the soil level. Dry it completely, then immediately apply rust-preventive oil. Finally, seal it in proper packaging for storage.
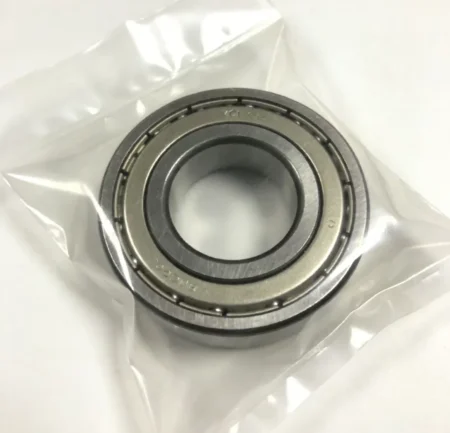
A customer who runs a large farm equipment repair shop used to wash bearings in solvent and then leave them on a bench to dry overnight. He called me complaining that the bearings were "rusting on their own." I explained that the clean, unprotected steel was like a magnet for moisture in the air. This is called flash rust, and it can happen in minutes. We got him to change his process: wash, immediately blow-dry with compressed air, and dip in a light rust-preventive oil while the bearing was still warm. His problem vanished overnight. It's that final, simple step that makes all the difference between a successful cleaning and a failed one. This complete process ensures you don't miss that critical final step.
From Dirty to Stored: The Complete Workflow
Here is the exact process our engineers recommend.
1. Pre-Treatment: Inspect and Prepare Before you do anything else, take a moment to prepare.
- Record the Model: Write down the bearing's model number. This saves headaches later if you need a replacement.
- Wipe Down: Use a clean, dry cloth to wipe off any loose dust and thick grease.
- Inspect: Gently separate the components if possible (don't force them). Look closely for any early signs of rust or damage. This helps you know which areas need extra attention.
2. Core Cleaning: Choose Your Method Select your cleaning method based on the bearing's size and how dirty it is.
| Scenario | Recommended Method | Key Parameters |
|---|---|---|
| Small Bearings / Light Grime | Manual Cleaning | Use a neutral cleaning solution and a soft nylon brush. Gently scrub all surfaces. Rinse thoroughly with clean water or solvent. |
| Batch Cleaning / Medium Grime | Ultrasonic Cleaning | Place bearings in a basket in an ultrasonic cleaner with a neutral detergent. Set frequency to 28-40 kHz and temperature to 40-60°C for 5-10 minutes. Rinse after. |
| Large Bearings / Heavy Grease | High-Pressure Spray | Use a high-pressure spray washer with a neutral cleaning agent. A pressure of 0.3-0.5 MPa is effective for blasting away thick, caked-on grease. |
3. Rust Prevention and Storage: The Critical Finish A freshly cleaned bearing is extremely vulnerable to rust. You must protect it immediately.
- Dry Thoroughly: Use filtered, compressed air to blow the bearing completely dry. Make sure no moisture remains in the crevices.
- Apply Rust Preventive: While the bearing is still slightly warm from drying, apply a thin layer (5-10μm) of rust-preventive oil. This creates a new barrier against moisture.
- Store Correctly: For long-term storage (1-2 years), seal the oiled bearing in a VCI (Vapor Corrosion Inhibitor) bag. Store it in a dry, ventilated area where the temperature is between 5-25°C and the humidity is below 60%.
Conclusion
Stop believing the "stainless" myth. Proactive cleaning and proper storage protect the bearing's surface. This simple maintenance is the true secret to doubling the life of your stainless steel bearings.